Exercise 3
The following exercises will test your knowledge of HTML and CSS. You can download the files for this tutorial using the following link. Be sure to extract the zip file in an appropriate location.
Files for exercise 3For this exercise, please make use of the provided external CSS style sheet 'style.css' in the css folder.
Part 1
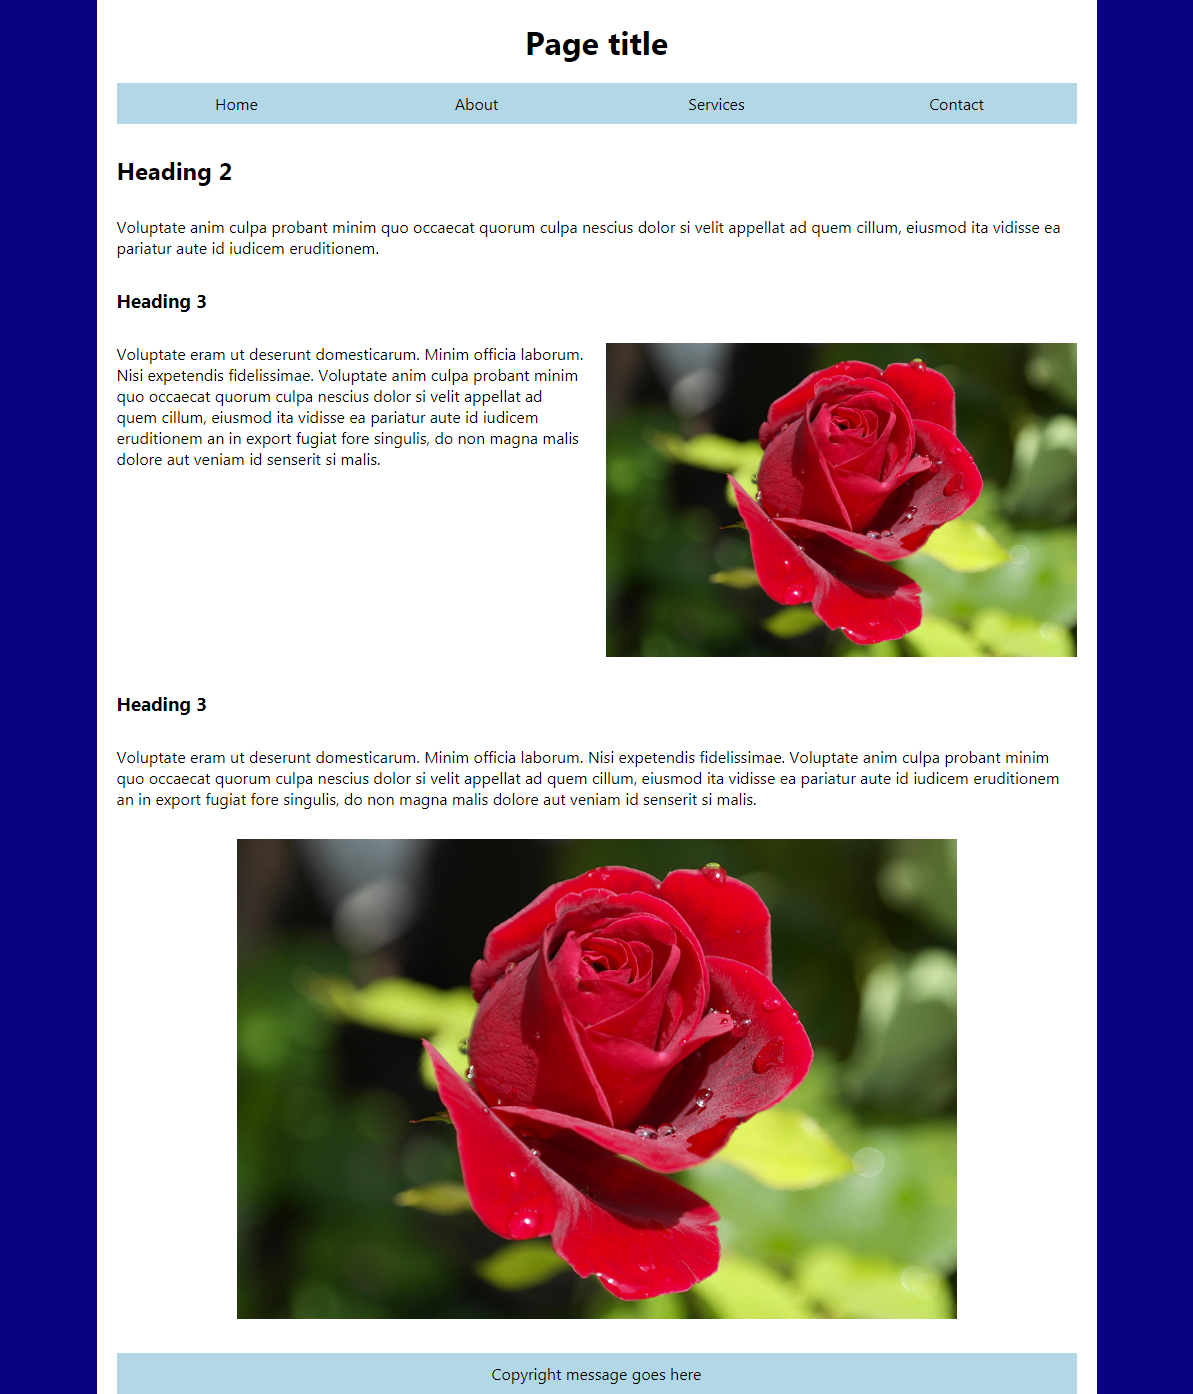
Take a look at the following mockup. Open index.html in notepad++ and attempt to build it as best you can using HTML and CSS. Don't worry about producing an exact copy, a rough approximation is good enough.
Part 2
Once you have completed building the web page from the mockup, try your hand at the following tasks. These involve building another web page that links to the one you just created.
1. Make the images links
Surround each img with an a tag.
Make the href attribute the image file path.
Test the image link works by clicking the image in the browser. It should load the image separately.
2. Create and link a new page
Copy and paste index.html into the pages folder and change its name to services.html.
Make sure style.css is linked correctly (check the file path at the top of the document).
Link index.html and services.html together in the navigation. Be careful about your file paths.
Empty the contents of services.html except for the h2 and paragraph at the top. Leave the header, nav and footer as is.
3. Create a table
Add a h3 below the paragraph with the text "Table".
Create a blank table with 2 columns and 6 rows. The top row should contain table headings.
The table headings should be "City" and "Country" respectively.
Fill in the table with appropriate city/country pairs.
Add styling to make the table 100% wide with thick blue borders. The borders should surround every cell.
Make sure to collapse the borders of the table (border-collapse).
4. Create a form
Add a h3 below the table with the text "Form".
Add 3 text type inputs and give each a label called "Name", "Email" and "Phone number" respectively.
Add a textarea with the label "Message".
Add a submit type input at the bottom and make it read "Send message".
Add styling to neaten up the form. You may want to look at this form's styling for guidance.
