HTML
In this section, we will create a simple web page that uses fundamental HTML tags to display headings, paragraphs, lists, link web pages together, and to divide content.
Headings and text
Make sure you have a blank project ready. You can set up a template project on the set up page.
Between the body tags on index.html, write the following markup.
index.html
HTML tags and elements
HTML tags are written with an opening tag and a closing tag to define where it starts and ends. Content is usually placed in between these tags.
HTML elements are a piece of content surrounded by tags. When closing a tag, make sure you don't miss the '/' or mispell the tag name.
While most tags require an opening and closing tag, a few do not need to be closed. Examples of this include the <meta>, <hr> and <img> tags.
| Tag | Description |
|---|---|
| <h1></h1> ~ <h6></h6> |
|
| <p></p> |
|
| <hr> |
|
Copy and paste the text content below into their respective empty paragraphs.
Paragraph 1
Formed 400 million years ago from molten rock, Dundee Law is an iconic natural landmark and popular visitor destination in the heart of the City of Dundee.
Paragraph 2
In the 1820s, the Law had a 300 metre long, 3 metre diameter tunnel driven through its eastern flank to carry the Dundee to Newtyle railway. Originally drawn by horse, the first locomotive was introduced in 1833.
Lists and links
Below the <hr> tag in index.html, add the following markup.
index.html
| Tag | Description |
|---|---|
| <ul></ul> |
|
| <li></li> |
|
We will use this list to hold various links to other pages, both internally and externally. To do this, we need to use the anchor tag, otherwise written as the <a> tag.
Edit the previous code snippet to include the following links. Make sure you place them between the <li> tags and not after them.
index.html
HTML attributes
'href' and 'target' are examples of attributes. These provide additional information about HTML elements and are sometimes required to make them function, such as 'href'. Attributes always come within the opening tag, after the tag name but before the closing angle bracket. The following table provides more information on these attributes.
| Attribute | Description |
|---|---|
| href="<file path or URL>" |
|
| target="<context>" |
|
The text in between the opening and closing <a> tag defines what the link will look like on the page.
See the MDN page on HTML links for more information.
The first two links will direct the user to web pages on the local file system. Since these haven't been created yet, clicking on the links will result in an error. The last link will take the user to the official Dundee Law website in a new tab, unlike the other links.
Images
We can also add images to web pages. Common image formats include JPEG, PNG and GIF. We will be using JPEG here.
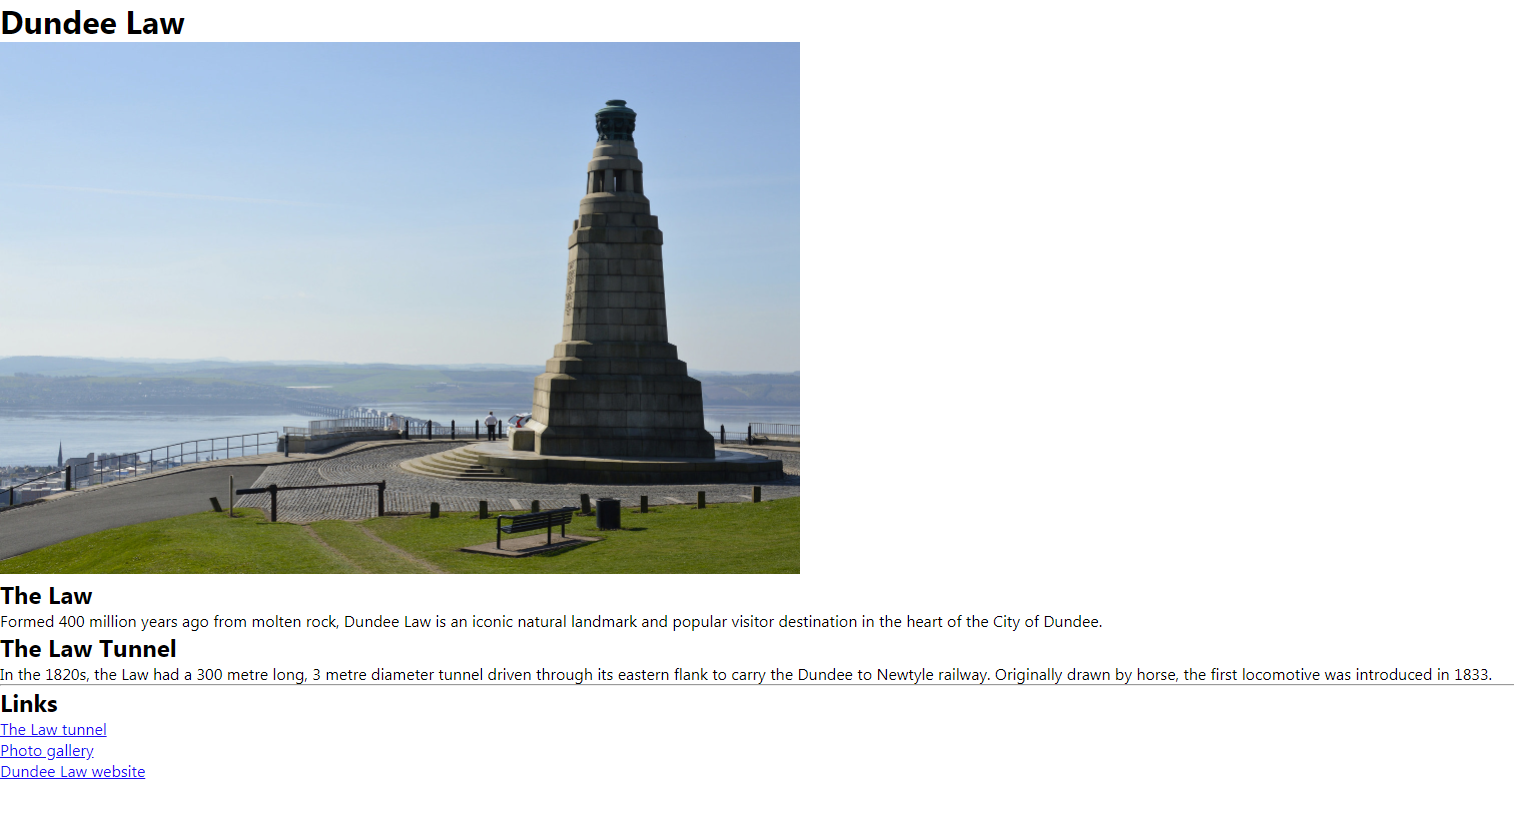
Download the following zip file. It contains a photo of the monument on top of the Law. Extract and place this image in the 'images' folder.
beacon.zipFind the <h1> tag at the top of the page and add an <img> tag below it, like in the following example.
index.html
In the <img> tag above, we have defined several attributes. The 'src' attribute defines the location of our image, the 'width' attribute defines the width of the image in pixels, and the 'alt' attribute defines a description of the image which is displayed if the image fails to load. The 'alt' attribute is also important for accessibility, since it can be read by screenreaders for those who have poor eyesight or are blind. Be sure to include a descriptive 'alt' attribute for every image you include on your web pages.
File paths
It is important to know how to use file paths to correctly locate resources such as web pages, images, style sheets, and other files. <a> and <img> tags require such information if they are to function correctly. Observe the following file structure.
-
images
- bridge.jpg
- sunset.gif
- pages
- about.html
- contact.html
- index.html
Here are a few examples of how some common file path patterns are extrapolated. Note that these are all examples of relative file paths.
1: linking index.html to about.html
To get from index.html to about.html, we have to check which folder about.html is in. This happens to be 'pages'. Therefore the file path would look like the following.
Files and folders are separated by a forward slash. Items further to the right of the file path are deeper in the file structure. Hopefully you can see how this relates to the file structure above. When accessing a file, like the above example, make sure to type the file type (.html, .png, .gif, etc) correctly.
2: linking about.html to contact.html
Linking web pages that are on the same level is very simple, you just need to type the name of the file.
3: linking contact.html to index.html
To get back to index.html from contact.html, we need to go back up a level in the file structure. We can do this by adding '../' before the resource we wish to locate.
We can add as many '../' as we need to go back up the file structure. Think of it as climbing a ladder.
4: linking an image to about.html
To access an image in another folder, we'll need to go up a level before locating the folder the image is in.
Linking pages
Find index.html in the file explorer (i.e. My Computer), copy it, and paste a copy in the pages folder. Rename the copy to law-tunnel. You can double check that a file is named correctly by right-clicking and selecting properties.
Open law-tunnel.html in your text editor. Remove all HTML between the <body> tags so we have a blank page, then add the following markup.
pages/law-tunnel.html
Because this page is in a folder deeper in the file structure, the CSS links at the top will no longer point to the correct location. To fix this, add '../' to the start of each file path in the CSS links in the document head. They should end up like the following.
pages/law-tunnel.html
Current progress
If you have followed the instructions correctly so far, you should have something that looks like the following image (click to see a larger version). Clicking on 'The Law Tunnel' under 'Links' should take you to another web page with a single heading on it.